• Inicio
  • Beauty
  • Make Your Nails Stand Out with These 10 Unique Christmas Nail Ideas

Make Your Nails Stand Out with These 10 Unique Christmas Nail Ideas

1. Candy Cane Stripes

This classic design is perfect for getting into the holiday spirit. To create this look, start by painting your nails white. Once the white polish has dried, use a thin striping brush and red polish to add vertical stripes to each nail. Finish off the look by adding a glossy top coat.

2. Glitter Ombré

 For a more glam and festive look, try a glitter ombré nail design. Start by painting your nails with a base color, such as gold or silver. Then, use a makeup sponge to lightly dab on a glitter polish, starting at the tip of the nail and blending downward. Finish off the look with a top coat to help seal in the glitter.

 3. Holly Leaves and Berries

 Another classic holiday design is holly leaves and berries. To create this look, start by painting your nails green. Once the green polish has dried, use a small dotting tool or toothpick to add red dots to the nails, representing holly berries. Then, use a thin brush and white polish to add small curved lines to the nails, representing holly leaves. Finish off the look with a top coat.

4. Santa Hat Nails

Get into the holiday spirit with these adorable Santa hat nails. To create this look, start by painting your nails red. Once the red polish has dried, use a small dotting tool or toothpick to add a white dot to the tip of each nail. Then, use a thin brush and black polish to add a small curved line to the bottom of the white dot, representing the brim of the Santa hat. Finish off the look with a top coat.

5. Reindeer Nails

These cute reindeer nails are sure to get you into the holiday spirit. To create this look, start by painting your nails brown. Once the brown polish has dried, use a small dotting tool or toothpick to add black dots to the nails, representing the reindeer’s eyes. Then, use a thin brush and red polish to add a small triangle to the nails, representing the reindeer’s nose. Finish off the look with a top coat.

6. Snowflake Nails

Snowflake Nails Embrace the winter weather with these stunning snowflake nails. To create this look, start by painting your nails blue. Once the blue polish has dried, use a thin brush and white polish to add small snowflake designs to each nail. You can create your own unique snowflake designs, or you can use a stamping plate to get perfectly symmetrical snowflakes. Finish off the look with a top coat.

7. Poinsettia Nails

 Add some holiday cheer to your nails with these beautiful poinsettia designs. To create this look, start by painting your nails red. Once the red polish has dried, use a small dotting tool or toothpick to add small green dots to the nails, representing the poinsettia’s leaves. Then, use a thin brush and yellow polish to add small dots to the center of the flowers, representing the poinsettia’s pistils. Finish off the look with a top coat.

8. Gingerbread Man Nails

 Get into the holiday baking spirit with these adorable gingerbread man nails. To create this look, start by painting your nails brown. Once the brown polish has dried, use a small dotting tool or toothpick to add small white dots to the nails, representing the gingerbread man’s buttons. Then, use a thin brush and black polish to add small eyes and a mouth to the gingerbread men. Finish off the look with a top coat.

9. Grinch Nails

 Get into the holiday spirit with a nod to the classic holiday movie, “How the Grinch Stole Christmas.” To create this look, start by painting your nails green. Once the green polish has dried, use a small dotting tool or toothpick to add small white dots to the nails, representing the Grinch’s fur. Then, use a thin brush and black polish to add small eyes and a mouth to the Grinch’s face. Finish off the look with a top coat.

10. Mistletoe Nails

Get ready for holiday kisses with these cute mistletoe nails. To create this look, start by painting your nails green. Once the green polish has dried, use a small dotting tool or toothpick to add small white dots to the nails, representing the mistletoe berries. Then, use a thin brush and red polish to add small V-shaped lines to the nails, representing the mistletoe leaves. Finish off the look with a top coat.

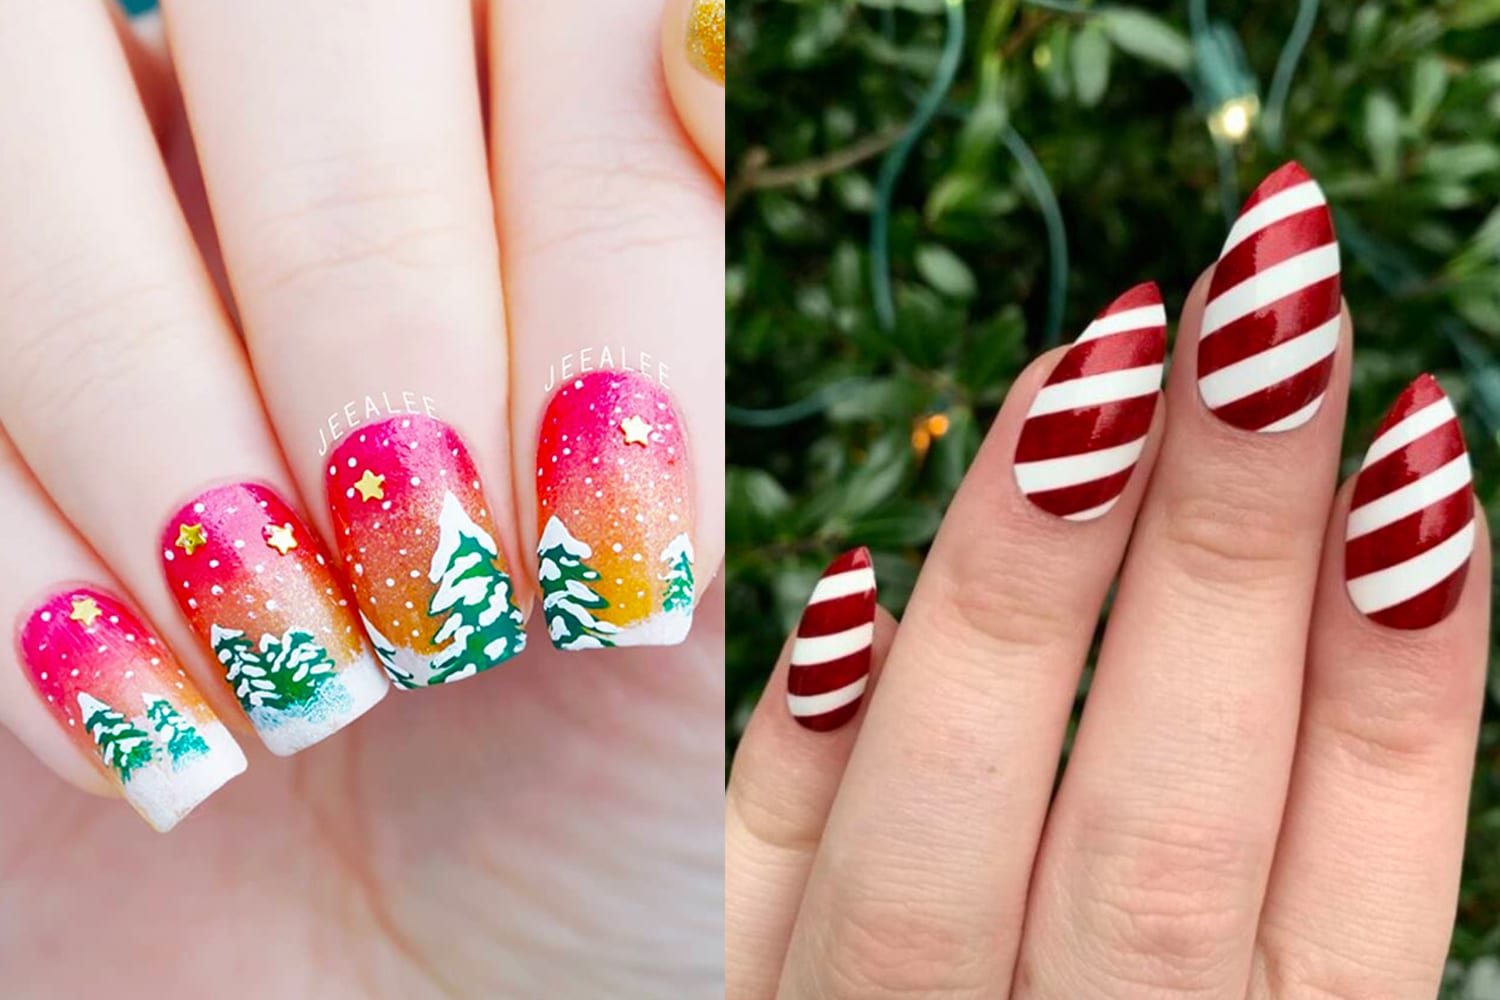
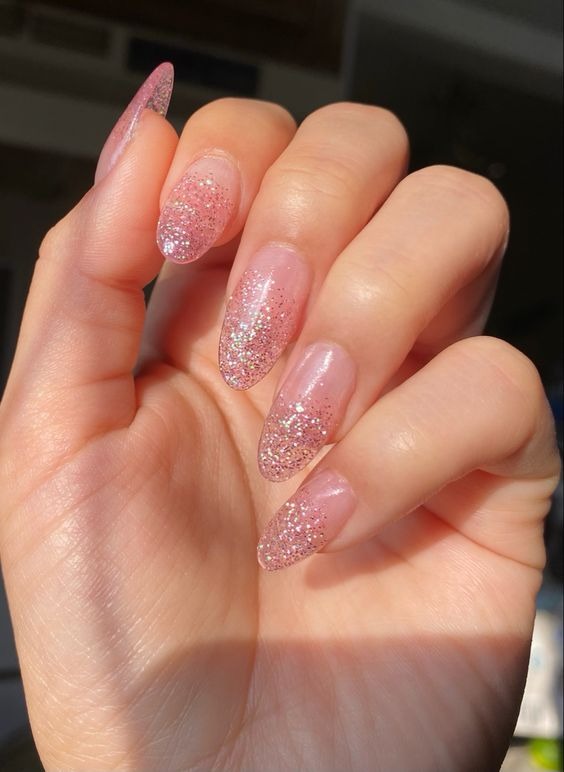
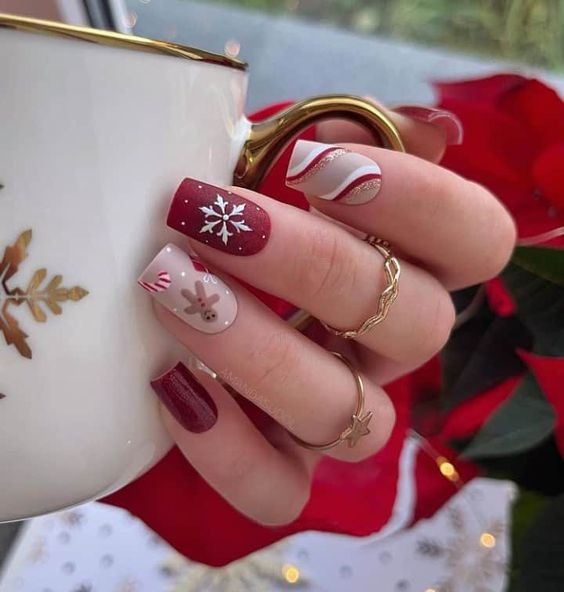
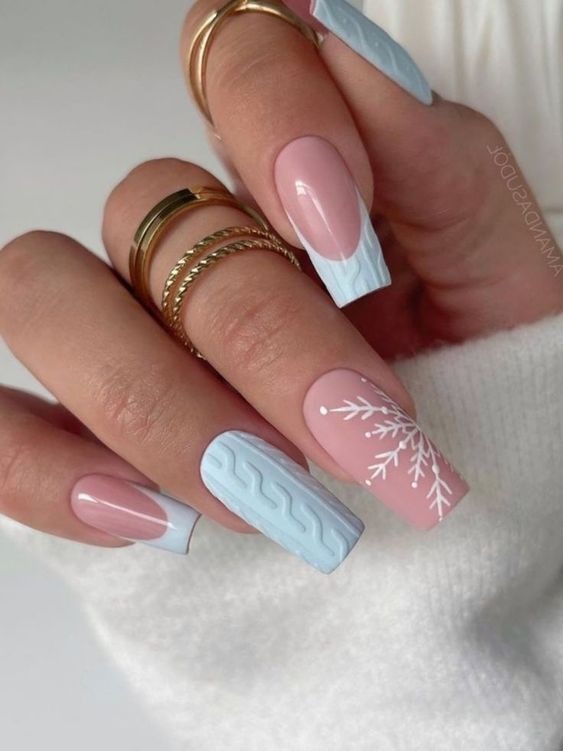
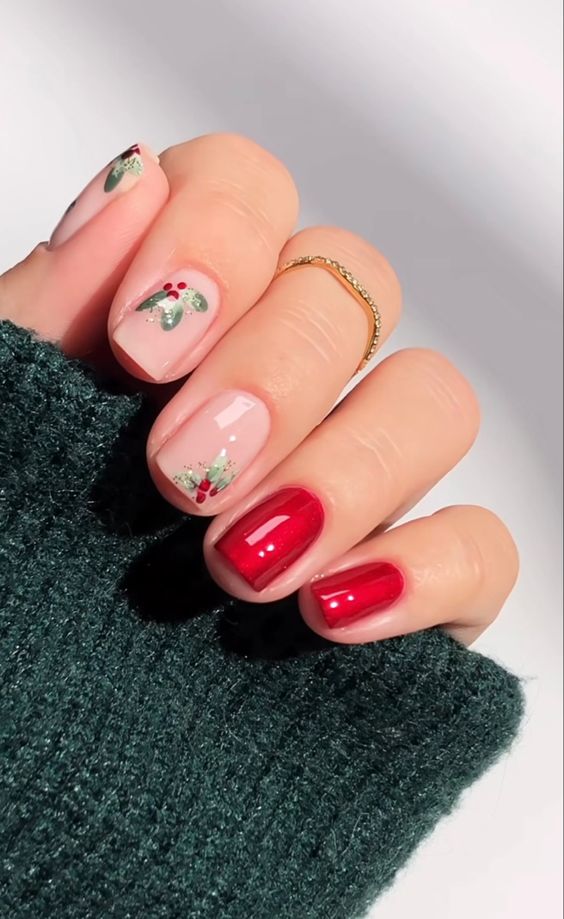
Overall, there are so many fun and festive nail designs that are perfect for the holiday season. Whether you prefer classic designs or more modern and creative looks, there is a nail design out there that will suit your personal style. So get creative and have fun with your holiday nail art!

Leave a Comment

Your email address will not be published.